
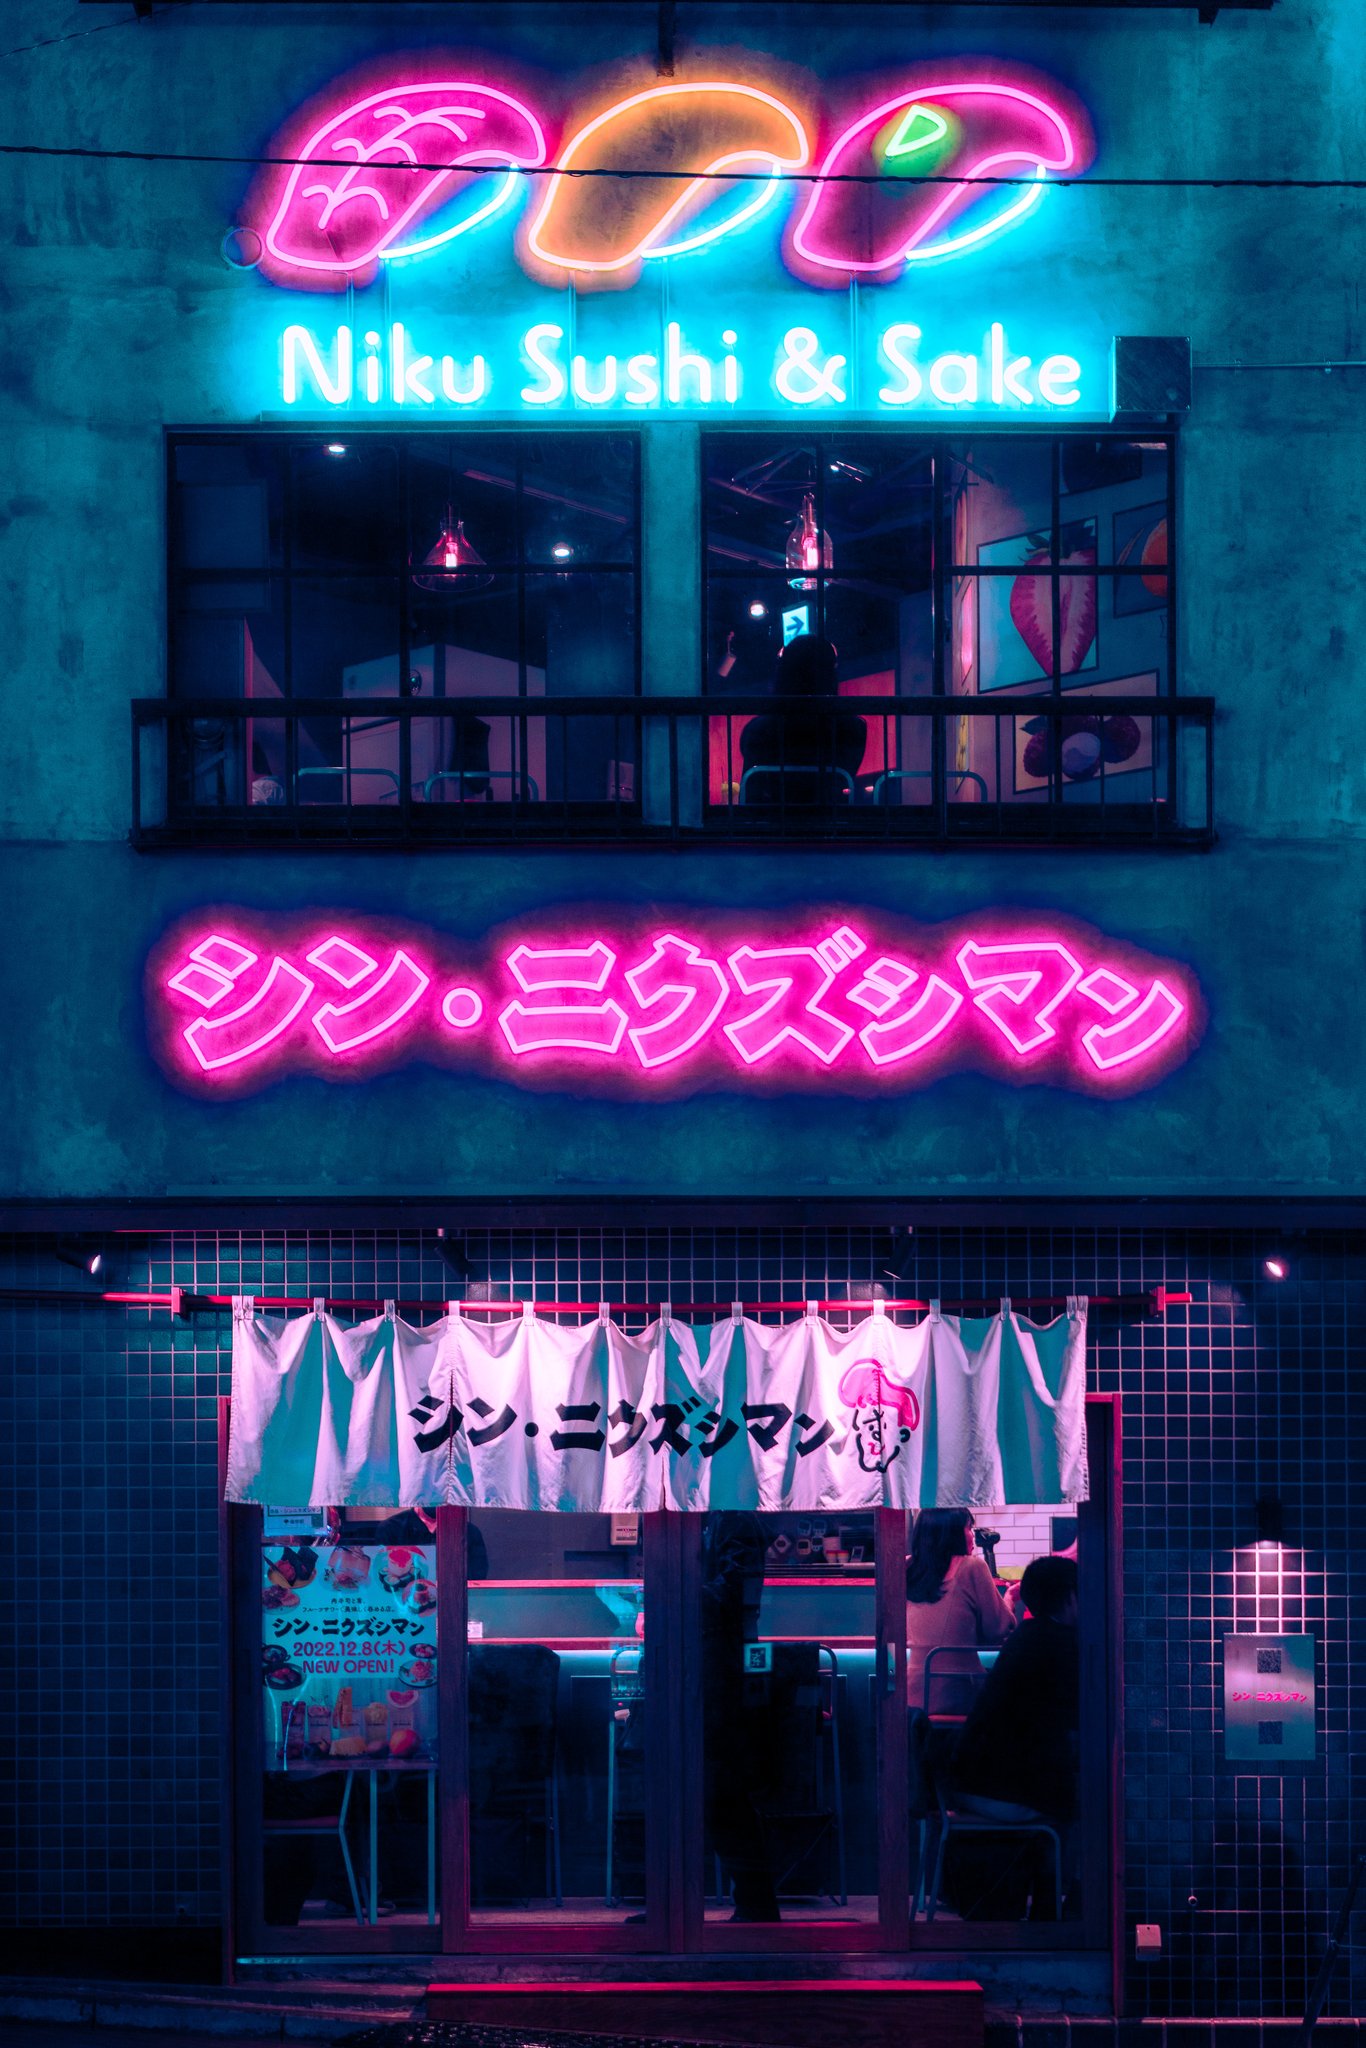
Neon photography in Tokyo sounds straightforward — the light is abundant, the colors are saturated, the subjects are everywhere. The problem is that neon tubes are point sources of extremely bright light surrounded by dark backgrounds, and camera sensors handle that combination poorly without help. The sign blows out to a white blob. The color disappears. The glow that made it look interesting in person is gone. It's one of the most common ways to come home from a night in Shinjuku or Akihabara with images that look nothing like what you saw. Here's how to fix it.
The Core Problem: Dynamic Range
A neon tube at close range can be 10 to 12 stops brighter than the dark wall or sky behind it. Most modern sensors can handle 12 to 14 stops of dynamic range in ideal conditions, but those conditions — base ISO, optimal exposure, no movement — are rarely what you're working with on a street at night. In practice you're dealing with mixed light sources at different temperatures, a moving scene, and a camera making quick decisions about where to meter. The result is an image where either the neon blows out or the shadows go completely black, and usually some combination of both.
The solution isn't one thing — it's a combination of metering mode, exposure compensation, and an editing approach that works with the RAW file's latitude rather than against it.
Metering Mode: Spot or Center-Weighted
Switch off evaluative or matrix metering when shooting neon-heavy scenes. These modes average the scene and will expose for the midtones — which in a dark street with bright signs means the meter sees the darkness, opens up, and clips the neon. Instead, use spot metering pointed at the sign itself, or center-weighted metering if you want something between spot and evaluative.
With spot metering on the sign, the camera exposes correctly for the brightest element in the frame. Everything else — the dark street, the people, the background — will be darker than a standard exposure would render them, but the sign will have color and detail rather than a blown-out white patch. You recover the shadows in post; you cannot recover clipped highlights.
Exposure Compensation: Pull It Down
Even with spot metering, I run -0.7 to -1.0 exposure compensation on neon-heavy frames. This protects the absolute brightest parts of the sign — the areas that would clip even with correct metering — and gives me more headroom in editing. A slightly underexposed RAW file is recoverable. A clipped RAW file is not.
The frames will look dark on the camera screen. That's fine. The histogram is what matters — look at the right edge. If the highlights are touching or climbing the right wall, pull down more. A small gap between the highlight peak and the right edge means you've protected the data. You'll recover the exposure in Lightroom and the shadows will open cleanly because modern full-frame sensors have the dynamic range to support it.
Aperture and Shutter for Neon
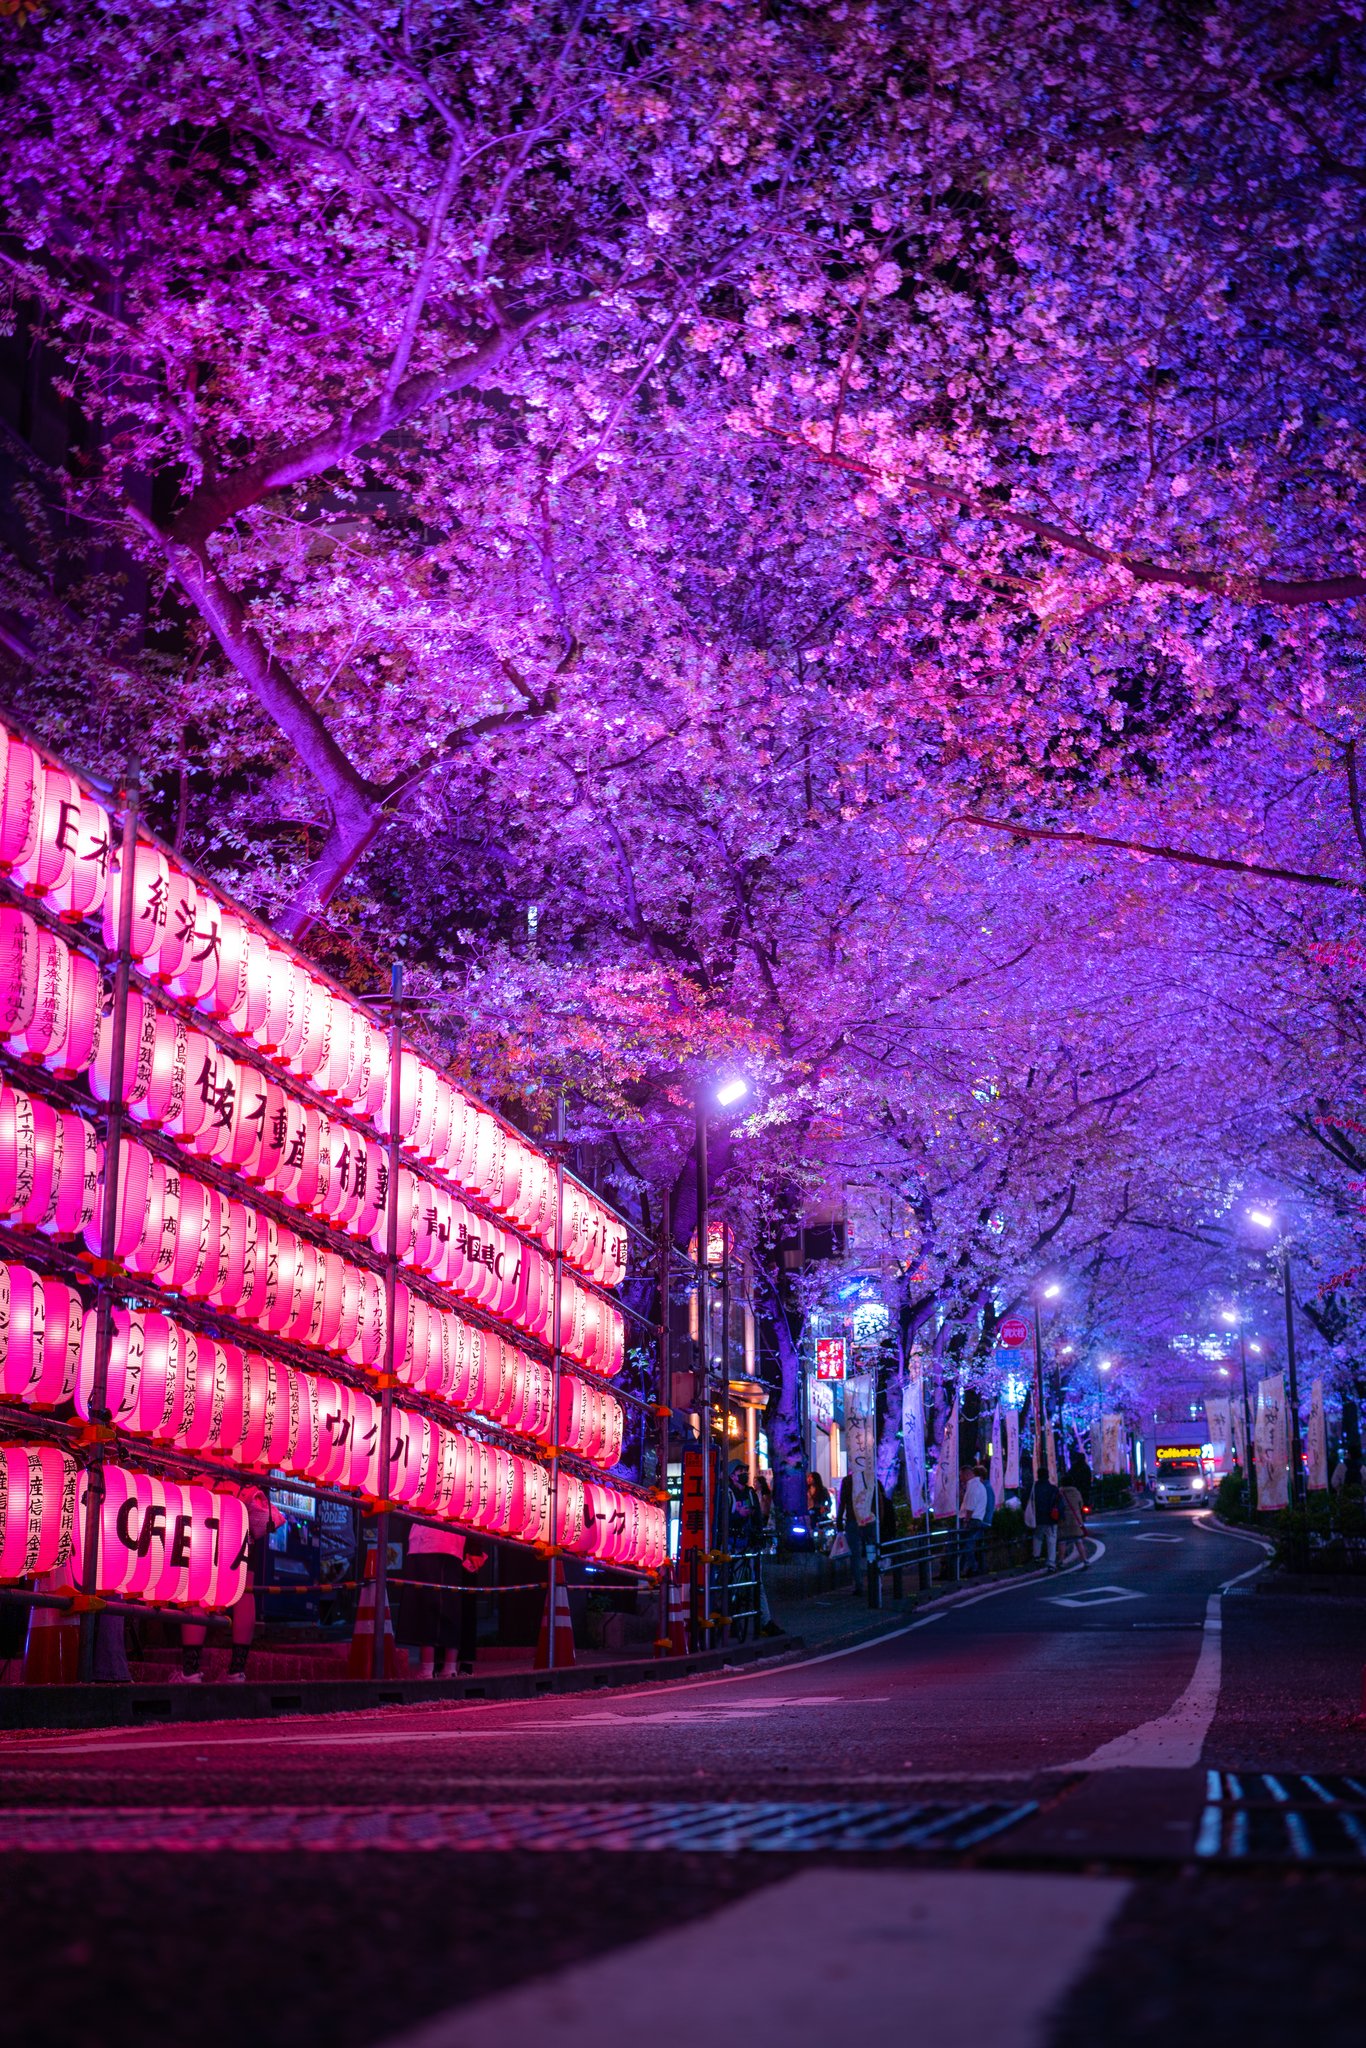
For the signs themselves — if the sign is your primary subject and you want it sharp — close down to f/4 or f/5.6. The smaller aperture reduces the natural bloom that happens around a point light source at wide apertures. At f/1.4 a bright neon tube will have visible glow and softness around the edges, which can work aesthetically but is not a controlled result. At f/4 the sign is sharp and contained.
If you want the glow — if the softness and the light bloom is part of what you're going for — shoot wide and accept it as a choice rather than a failure. The difference between f/1.4 neon and f/5.6 neon is real and both are valid. Just know which one you're making.
For shutter speed, anything above 1/100 freezes the sign cleanly. Below that you start to risk motion blur if there's any camera movement, though the sign itself isn't moving. If you're hand-holding at night, which I almost always am, 1/125 is the floor I try to stay above.
The Glow Is in the Reflection
One of the most useful techniques for neon photography is to stop shooting the sign and start shooting what the sign illuminates. The neon itself is hard to expose for, but the neon reflected on a wet pavement, bounced off a glass shopfront, or spilling across someone's face from an angle — these secondary light sources are much more manageable because they're not point sources. They're diffused, softer, and sit within a normal dynamic range.
In Tokyo after rain, this is especially true. The pavement becomes a secondary image of every sign above it, softer and more dreamlike than the sign itself, and the exposure challenge disappears because reflected neon is several stops dimmer than direct neon. Position yourself to include both the sign and its reflection and you have a frame with a natural dynamic range the camera can handle without manipulation.
Color: Leave It Alone (Mostly)
The urge to correct neon color in editing is almost always wrong. Neon signs are not neutral white light — they produce specific, saturated color, and that color is the point. Pushing toward a "correct" white balance neutralizes exactly the thing that made the sign interesting. Leave the whites warm if the sodium lamp is warm. Leave the pink pink. Leave the cyan cyan.
What is worth adjusting is saturation in the HSL panel — not to add artificial color, but to restore color that clipped slightly in camera. If a red neon sign shot at the edge of exposure has lost some saturation in the highlights, a small boost in the red HSL channel brings it back without affecting the rest of the frame. This is different from adding saturation globally, which makes everything look processed.
When the Sign Is Not the Subject
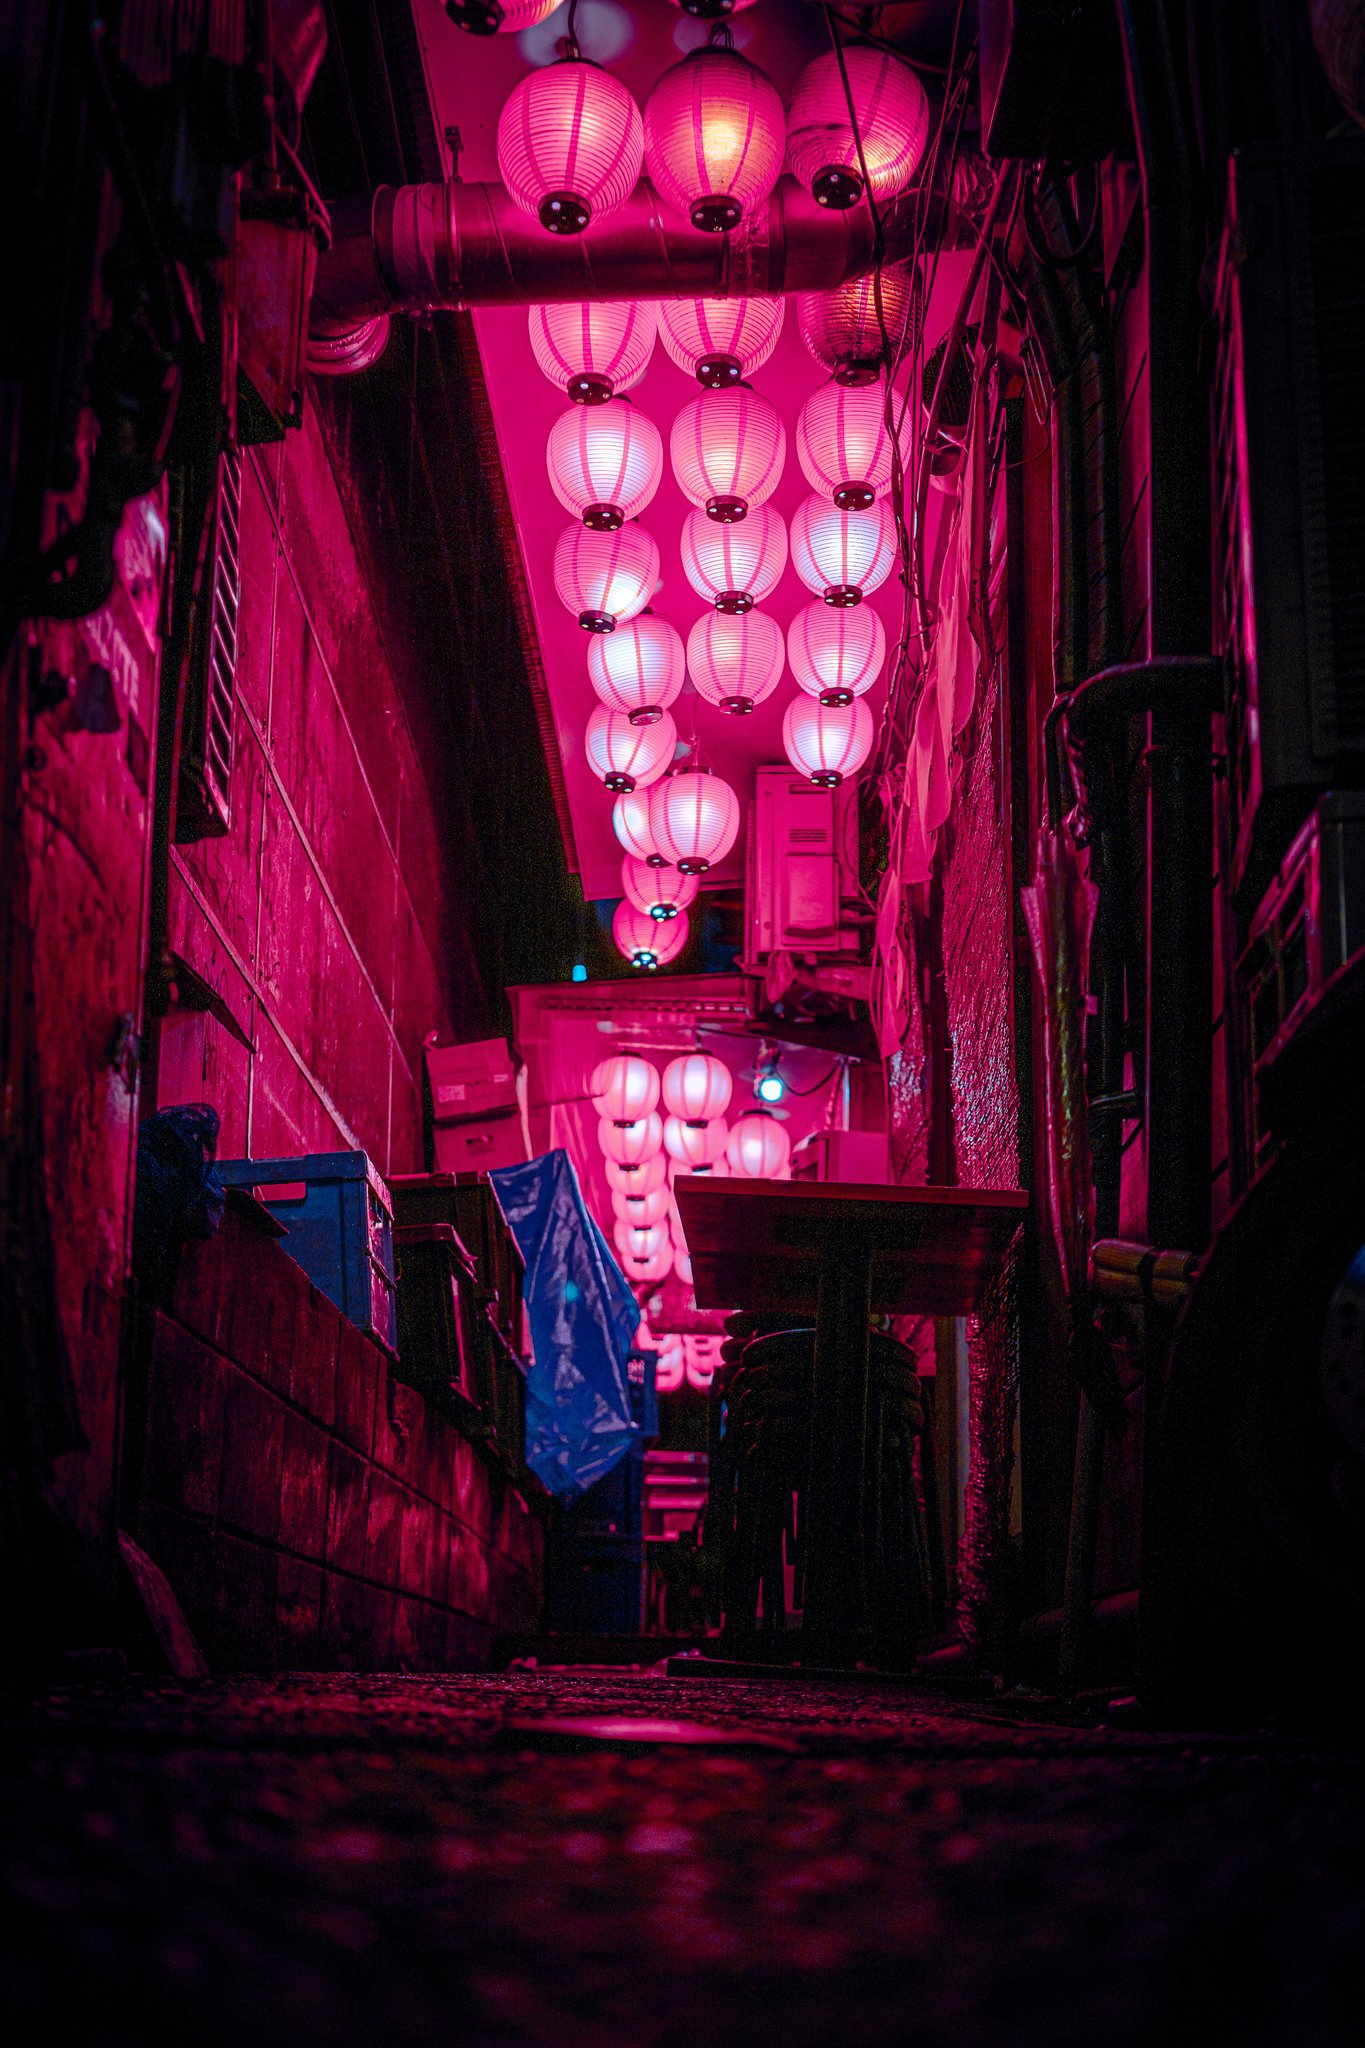
Most of the strongest neon photography uses the sign as a light source or context rather than the primary subject. A person walking past a pachinko parlor, lit from the side by the cascade of pink and yellow from the signage — that's a neon photograph where the neon is working but isn't being photographed directly. The exposure problem largely disappears because the person's face, lit by reflected neon at a manageable intensity, is what you're metering for. The signs are in the background and can clip without damaging the image.
This approach also tends to produce stronger images because there's a subject with human presence rather than a documentation of an illuminated object. The neon in the best neon photography is usually in service of something else. Learning to use it as a tool rather than photograph it as an object is the shift that makes these images more interesting.
Want to put these techniques into practice in Tokyo?
Book a Session in Tokyo →